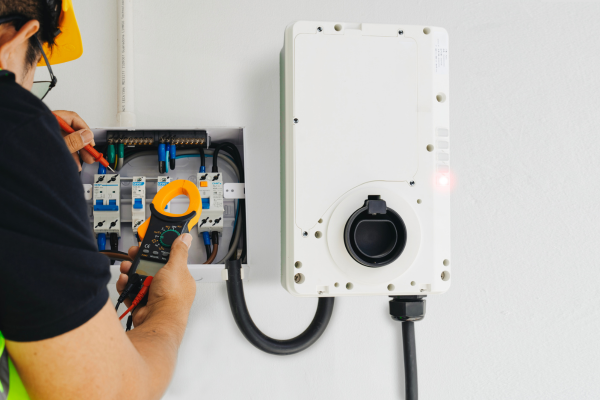
EV Charger Installation in The Villages: Everything You Need to Know Before You Buy
Electric vehicle ownership in The Villages and greater Central Florida has surged dramatically over the past three years. Golf cart-friendly communities have embraced electric transportation for decades, and now full-size electric vehicles from Tesla, Ford, Chevrolet, and BMW are filling garages throughout Sumter and Marion County. Installing a home EV charger eliminates the inconvenience of public charging stations and guarantees your vehicle starts every morning with a full battery.
However, EV charger installation involves more than simply plugging a unit into your garage wall. Electrical requirements, panel capacity, circuit sizing, and permit regulations all influence the installation process. Understanding these factors before you purchase a charger saves you time, money, and frustration.
Understanding EV Charging Levels and What Your Home Needs
Not all EV chargers deliver the same performance, and the right choice depends on your driving habits, vehicle battery size, and electrical setup. Here is how the main charging levels compare for residential use.
Level 1 Charging: The Basic Option
Level 1 charging uses a standard 120-volt household outlet. Every electric vehicle comes with a Level 1 charging cord that plugs directly into any three-prong outlet. While this requires zero installation, it delivers only 3 to 5 miles of range per hour of charging. For a vehicle with a 300-mile battery, a full charge from empty takes over 60 hours. Most EV owners quickly find Level 1 inadequate for daily driving needs.
Level 2 Charging: The Gold Standard for Home Use
Level 2 chargers operate on 240-volt circuits, the same voltage your dryer or oven uses. They deliver 25 to 40 miles of range per hour, fully charging most vehicles overnight in 6 to 10 hours. Level 2 represents the ideal balance of speed, cost, and convenience for residential use. Popular models include the Tesla Wall Connector, ChargePoint Home Flex, Grizzl E, and JuiceBox. A licensed electrician installs the dedicated 240-volt circuit and mounts the charging unit.
Choosing Between Hardwired and Plug-In Chargers
Level 2 chargers come in two configurations. Hardwired units connect permanently to your electrical system and typically support higher amperage output. Plug-in units use a NEMA 14 50 or 6 50 outlet, offering portability if you move. Both deliver excellent performance. Hardwired units look cleaner and eliminate the possibility of a loose plug connection. Plug-in units provide flexibility and easier replacement. Your electrician can advise which option best suits your garage layout and electrical configuration.
Electrical Requirements for a Safe EV Charger Installation
An EV charger places a significant, continuous electrical demand on your home’s system. Meeting the following requirements ensures a safe installation that complies with local codes and protects your property.
Panel Capacity: Can Your Home Handle the Load
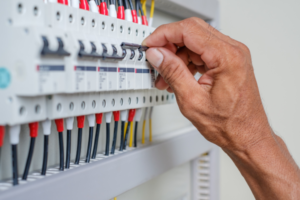
A Level 2 EV charger draws between 30 and 60 amps of continuous power. Before installation, your electrician must verify that your main electrical panel has sufficient spare capacity to support this additional load without overloading existing circuits. Many homes in The Villages operate 100-amp or 150-amp panels that may already run near capacity during peak summer months when air conditioning demand peaks. A panel upgrade to 200 amps may be necessary to safely accommodate the charger.
Dedicated Circuit and Wire Sizing Requirements
Every EV charger requires its own dedicated circuit from the electrical panel to the charging location. This circuit must use appropriately sized wiring to handle continuous current draw safely. A 40-amp charger requires a 50-amp circuit with 6-gauge copper wiring. A 48-amp charger requires a 60-amp circuit with 6 or 4-gauge wiring, depending on distance. Undersized wiring creates dangerous overheating conditions that compromise safety and violate the electrical code.
Permits and Inspections in Sumter and Marion County
EV charger installations in The Villages, Lady Lake, Wildwood, and surrounding areas require an electrical permit from the local building department. A licensed electrician pulls the permit, performs the installation to code, and schedules an inspection. The inspector verifies proper wire sizing, breaker rating, grounding, and mounting. Skipping the permit process creates liability issues, insurance complications, and potential safety hazards that could affect your home’s resale value.
Installation Process and What to Expect
Knowing what the installation process looks like from start to finish helps you prepare your space, plan your schedule, and budget accurately. Here is a step-by-step overview of a typical EV charger installation.
The Pre-Installation Assessment
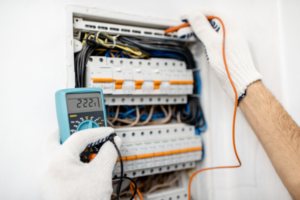
A qualified electrician begins with a thorough assessment of your electrical system. They inspect your main panel, calculate available capacity, measure the distance from the panel to your desired charger location, and identify any obstacles in the wiring path. This assessment determines whether you need a simple circuit addition or a more extensive panel upgrade before the charger installation can proceed.
Installation Day: Step by Step
On installation day, the electrician installs a new breaker in your panel, runs appropriately sized wiring from the panel to the charger location (through attic spaces, wall cavities, or conduit along exterior walls), and mounts the charging unit at the optimal height and position. The entire process typically takes 3 to 6 hours for a straightforward installation. Longer distances between panel and charger or the need for conduit routing may extend the timeline.